
Stop the Chipping: Why Infrared Preheating Actually Works
Ever notice how cutting glass at room temperature feels like a gamble? You score the surface, you go for the break, and then—snap—you’ve got a nasty chip or a corner breakout. It’s frustrating. Especially with thick or tempered sheets, those micro-cracks are just unstable. They don’t want to cooperate. That’s where infrared (IR) preheating comes in.
The secret is in the heat
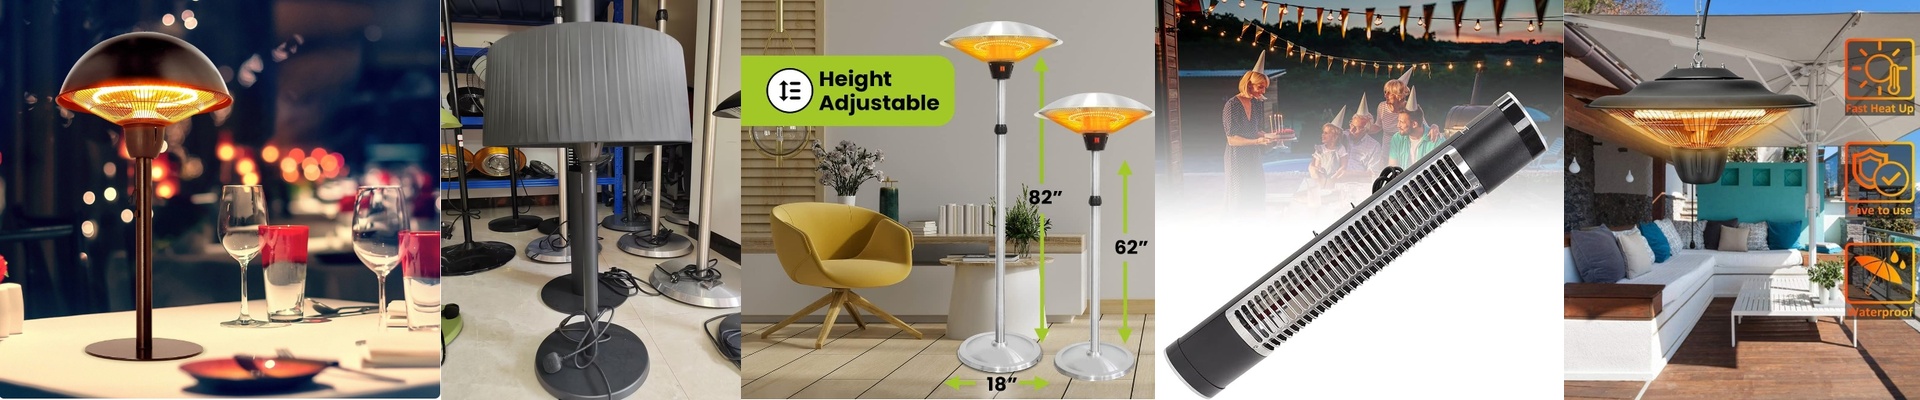
Here is the thing: when you hit the glass with IR lamps, you’re basically relaxing the material. By warming up the surface, you lower the viscosity and kill off that stubborn surface tension. It makes the glass feel more “giving,” if that makes sense. Instead of the stress bunching up in one spot, it spreads out evenly along your score line. The result? A clean, satisfying break. No violent snapping at the edges, and way fewer wasted sheets.
The gear you actually need
We usually go with short-wave infrared quartz lamps for this. Why? Because they punch through the glass surface much faster than long-wave options. If you’re running a fast production line, you can’t wait around for the glass to warm up—you need that heat now. I always suggest using high-temperature quartz envelopes. If you don’t, the lamps can actually bow under the heat, and that’s a mess you don’t want. Plus, if your line is moving quickly, don’t just blast the whole thing. Use a zoned control system. This keeps the heat focused exactly where the cutting head is hitting, so you aren’t wasting energy.
A few things to watch out for
Now, this isn’t some magic wand. You can actually overdo it. If the glass gets too hot, you’ll create new thermal stresses, and you might find your glass cracking spontaneously after the cut. It’s a balancing act between how far away the lamps are and how long the glass stays under them. And one last thing: these lamps are power-hungry. Just make sure your electrical setup can handle the surge when the bank kicks in, or you’ll be spending your afternoon resetting breakers.